After you've sent in your $265.00 plus $15.00 shipping for your Yehuda's and begin building it, pay real close attention to this part of your build. Real close. Got it?
George has included a last minute supplement to his instructions. It deals with how to weather the walls and apply the mortar. He has basically changed around the sequence described in the original instructions. As I surmised earlier in my build, it is likely George writes the instructions as he is building his model. I surmise. Here is how George begins the supplement:
The following was brought to my attention by Karl Scholz, the first modeler to build this kit... After Karl applied the chalk powder he noticed that all the brick faces were too light (I had the same problem)... To correct this problem, the brick walls will be dry-brushed with full strength Polly Scale Reefer Orange (represents old bricks) and/or Zinc Chrome primer.
Essentially, George took steps 4 and 5 in the original instructions, rearranged them, rewrote them as one instruction in the supplement and advises the modeler to follow the supplement instead. I failed to do that. No biggie, it is only a toy train.
I did not have the problem that George and Karl had. You'll understand why in a bit. Instead, I had an altogether different problem. And I did not have to pay extra for that .
OK. Here is what I did.
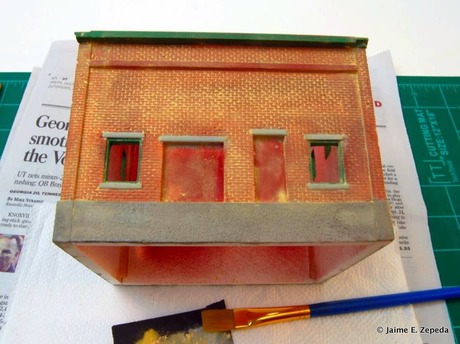
Step 5 begins by instructing the modeler to apply the famous alcohol stain. I like this part. It is so cool to watch the alcohol stain get sucked in to every nook and cranny and make the details POP! I chose to go with the 70% batch I had originally made back in 2007. Why? Perhaps because I work for a wholesale distributor and we use the FIFO method.
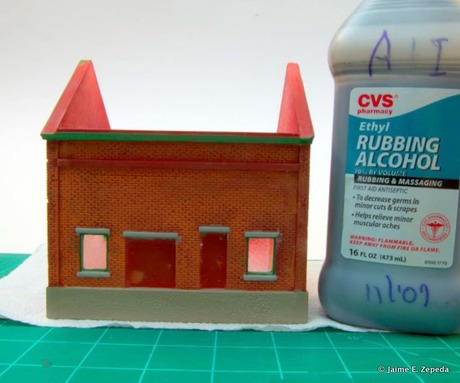
I used a 5/8 flat brush to apply the alcohol stain liberally. You can use any other brush. Just be careful you don't get black alcohol stain where you don't want it.
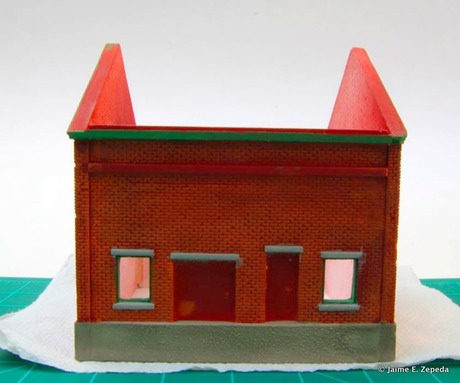
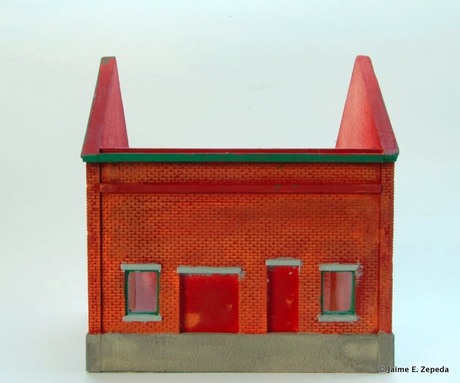
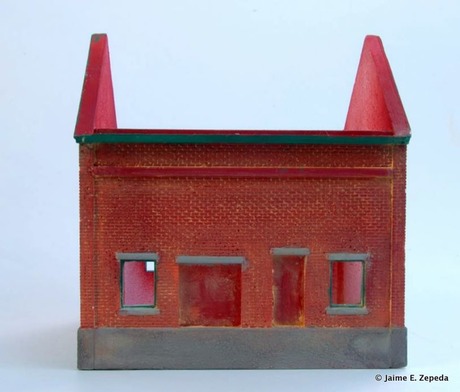
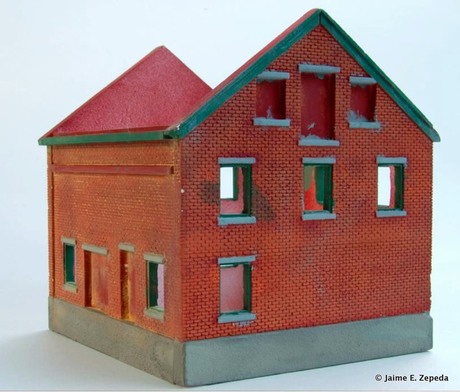
Here we have the "track" side wall stained.
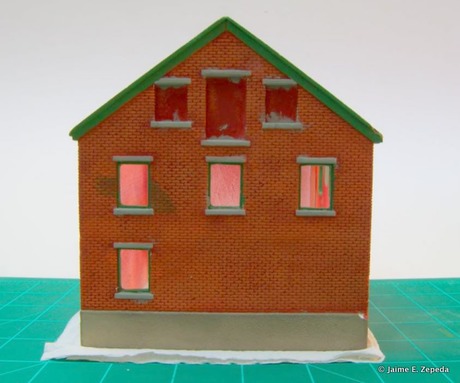
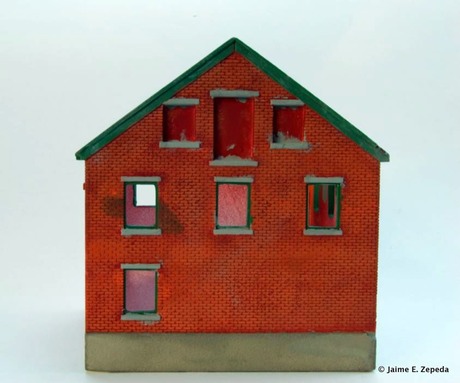
And here you can see the "lean-to" gabled wall stained.
You can begin to see each brick separately now. You can also see the detail of the stuccoed foundation. And, you can still see my large boo-boo :(( While alcohol stain can disguise many "deviations", it is not going to perform a miracle on your work. I'm starting to realize the hype behind this alcohol stain may be overrated :-)
I took Yehuda's outdoors and snapped a few photos.
"Where is the 'outdoors' in those photos?" you ask. Behind the white poster-board I use as a backdrop. I need to invest in one of those cool landscape vistas backdrops you can buy online or at cool toy train shows or perhaps even at your nearest hobby store.
If you are not happy with the intensity of the stain, apply some more stain.
After the stain comes the mortar.
I am now officially in unchartered territory. I've never mortared a brick structure using chalks as directed by George in Yehuda's instructions. I've only ever used a white acrylic wash. Sometimes a grey acrylic wash. But mainly just an acrylic wash.
George provides the following formula for the mortar:
Roughly 2 parts white chalk to one part light brown (or tan) chalk.
George suggests a brown as close to the "Earth" paint used to prime the castings. I used the best match light brown I could find.

I'd show you 2 neat piles of powdered chalk I made by first rubbing the chalk sticks on 1200 grit sandpaper which did not go so well so I later scraped with a single edge razor. But, I lost that photo. I cannot find it. Poof! It disappeared. So use your imagination.
[Insert photo of two neat piles of powdered chalk; one pile white, the second light brown.]
I then mixed the two piles together as instructed.
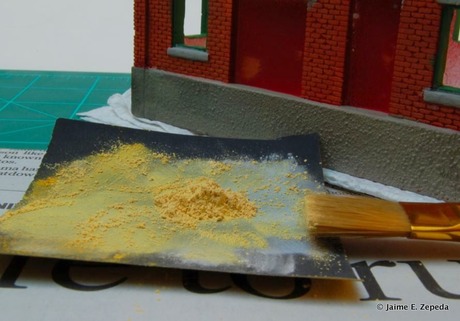
Oops, that does not look like the color of mortar. My light brown is too yellow. Oh well, What have I to lose here? "Watch this." I brushed the chalk onto the "lean-to" wall and prayed for a miracle... Amen.
You be the judge.
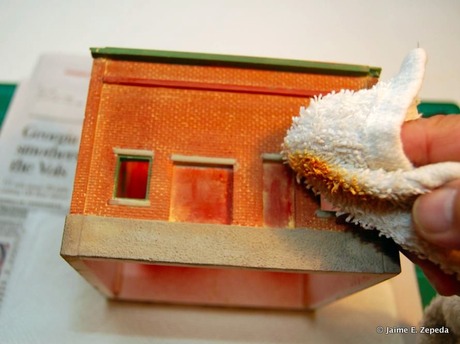
I then rubbed off the excess chalk with a wet rag as directed by George's instructions.
Aside:
Folks, it is not easy holding one's hand in the frame and snapping a clear picture. I always wondered how Dave Frary does it. You've seen all those photos he posts of stuff he builds. He almost always holds it in the frame with his hand. I took several shots of my black alcohol stained hand holding a wet rag trying to make it look like I was rubbing off excess yellow chalk pretending to be mortar. It was not easy.
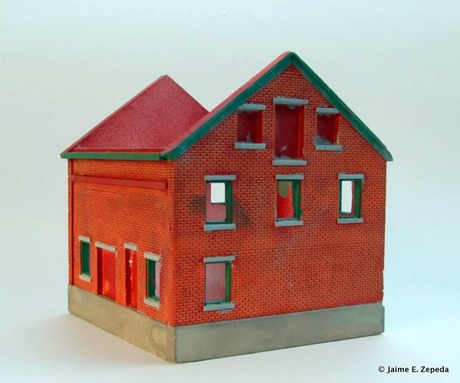
Here is what I ended up after I rubbed off the chalk the best I could.
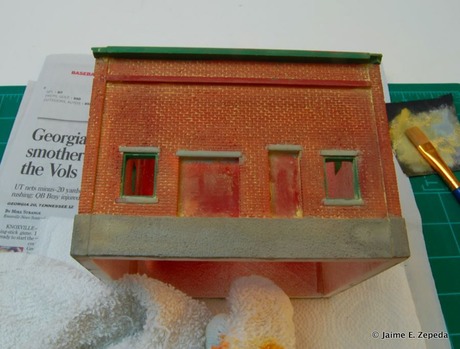
You'll notice that my brick faces are not too light as experienced by George and Karl. That is one huge clue. I did something wrong. No biggie. It's just a toy train.
I took my yellow Yehuda's out of doors hoping that the afternoon sun would color things in a different light.
You be the judge. It still looks yellow to me.
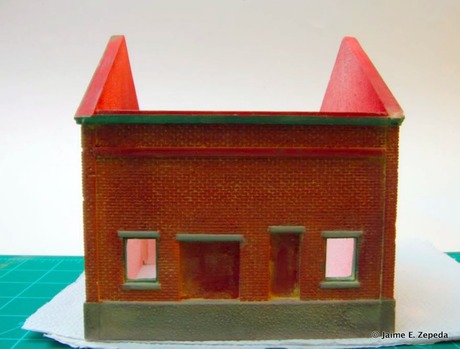
But, If I add the doors it now takes your focus away from the jaundiced mortar and onto the doors.
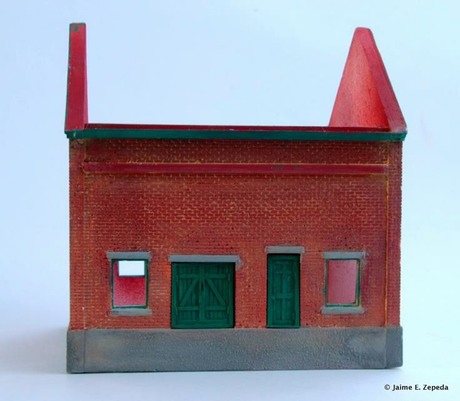
Right?
No biggie. It's just a toy train. I'll fix it... somehow.
Next up, step 6; add the windows and doors.