October 5, 2011
George's instructions do not have a template or a drawing identifying the plaster castings. Instead George points the modeler to the glorious views on the built pilot model found in the practically life-size poster included in the kit. So I found a photo that gave a real good view of at least 2 of the brick structure's walls. I then matched the plaster casting to the photo and scribbled on the back of each casting some reference that I could identify. I chose to mark them "track" for the side wall closest to the track, "street" for the side wall that could face a street, "coal" for the peaked front wall that faces the coal shed (I am guessing this is the front of the structure as it has a large door opening on the ground floor) and "lean-to" for the peaked back wall with the lean-to shed attached to it opposite the front wall. You can visit the Fine Scale Miniatures website for the photos included in the poster. Or you can visit either Karl's or Dave's thread where the built-up brick structure can be seen in their photos.
George instructs the modeler to open up the 16 window openings found in the first 2 floors of the structure. He also suggests to mark each window opening with an "X" so as to not make a mistake. I did just that and ended up with more than 16 "X"s. Oops. I went back and re-read the instructions and noticed that George gives the modeler the option to not open up the door openings on the first 2 floors of the structure. So I went back and marked all the doorways with an "O".
Here are the 4 plaster casting ready to have the windows opened up.
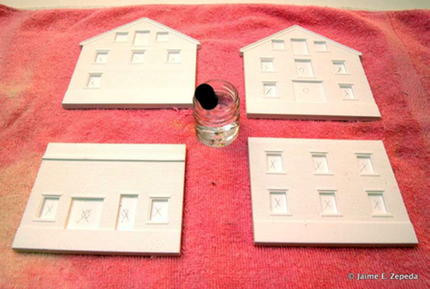
If the opening had an "O" I left it alone. If it had an "X" I opened it up.
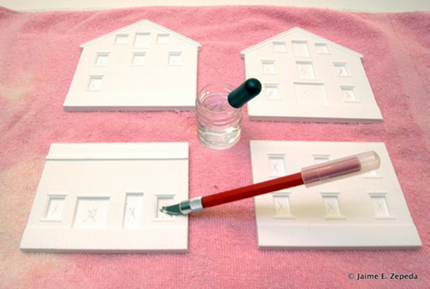
You'll notive I set the plastrer castings on a towel to keep from marring any of the detail as I worked out the window openings.
George suggests using an eyedropper to wet the plaster web in each window opening. That helps a lot to soften the plaster. You can then use an X-acto knife to open a hole in the center of the web and then clean out the window opening by removing the rest of the web.
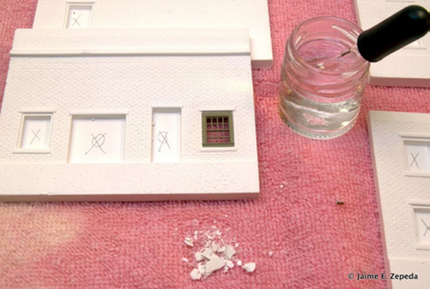
Here you can see where I've started the first window opening. Finally! I'm building FSM's Yehuda's Heating Co. JS 14 which can also be yours for $265.00 plus $15.00 shipping.
George cautions the modeler to be careful not to damage the surface of the wall. After the first couple of window openings I had done I realized that if I removed as much of the plaster web as possible without getting too close to the frame surrounding the opening I could flip the casting so I could remove the remainder of the plaster web from the back of the casting. This way if my X-acto knife got too close to the window frame I was only marring the back of the casting and not the fantastic detail on the front. Thus, I opened up each window opening until I got about 1/16 of an inch from the window frame and finished the remainder from the bak of the casting. It turned out great. I did not muck up any of the front of the casting.
George does not instruct to do the following at this point in the process. But, I wanted to make sure that I was doing a good job cleaning up each window opening. So I took one of the almost cured window plastic castings and used it to test fit each window opening as I opened it up.
Fantastic fit. There were a couple of window openings that were a tad snug. But I figure later on I can sand each window casting to fit its appropriate window opening. I only sanded the test window casting to remove the burrs after removing it from the sprue.
I noticed that on a couple of the window openings there was a slight gap either above or below the casting. I could tell because the bright white plaster was showing right through. I imagine this will not be noticeable once the brick is painted. Plus, I'll have 16 castings to choose from when test fitting each window opening giving me ample opportunity to find the best match for each window.
Behold the 4 plaster castings with 16 open window openings.
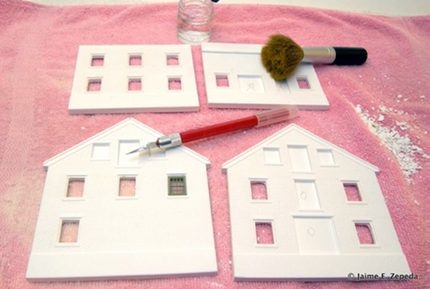
Lisa gave me a make-up brush she no longer uses and that is what I used to brush the casting as I was opening up each window.
Wetting the plaster web makes a huge difference. You'll end up with a lot of plaster dust and debris. It helps to clean each window opening with a brush as you are working it.
Next up, step 3; gluing the brick walls together.